
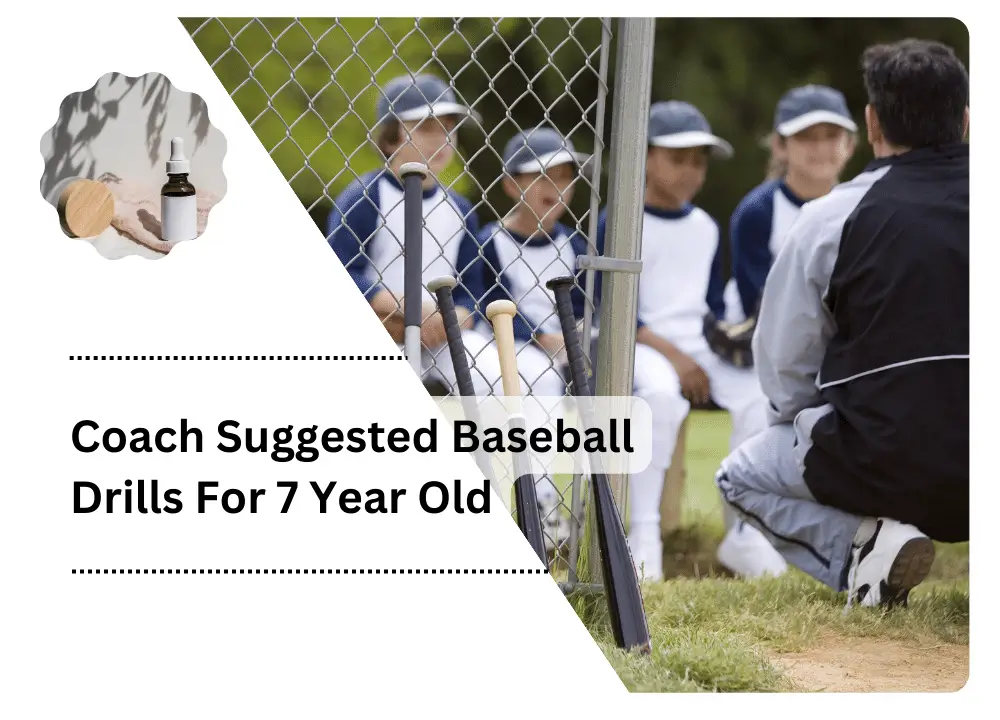
Are you looking for the best baseball drills for 7 year old kids without placing them under an intense practice schedule? Yes, you read that right because we will quench your thirst by providing baseball drills that are highly adaptable during rehearsals for your kid.
Children as young as seven years old may participate in any sport. As a parent or coach, you should make it exciting and interesting instead. You ought not try to turn them become puppet masters. Instead, you should determine if they belong in this game. You must prepare them for what they will discover when they reach eight while repeating the concepts they have learned from previous years.
Fortunately, we came across little baseball drills suggested by coaches to help your kid develop his baseball skills and passion for the game. Let’s explore them!
Baseball Drills for 7 Year Old
Drills in pitching, hitting, catching, and fielding are among the various categories of top baseball drills for kids aged 7. At this age, players are moving into their final age level for Tee Ball. Thereby, now, you should be ready to introduce them to more complex techniques, but they should still be able to confidently complete the drills you taught them with the tee-ball sets when they were six.
Baseball Pitching Drills
The main thing you need to focus on while pitching to a 7-year-old child is posture development. Everything from eye and hand coordination to leg muscle strength is crucial.
You may concentrate on their pitching techniques, swings, and other things afterward. The baseball workouts for kids in the 7–8 age range will help them build a strong pitching base.
- Hi-5 Pitching Workout
The starting point of any baseball pitching approach is to maintain the hand action properly.
Incorrect pitching action causes arm injuries in young pitchers often. These injuries usually occur by bouncing the ball around the ball.
Pitching through the ball can still lessen this risk. They can practice in this area with the help of this Hi-5 pitching drill.
Parents can perform this pitching drill anywhere, even on the ground side of their home, making it a parent-friendly exercise.
How Is the Hi-5 Pitching Drill Carried Out?
First, the child sets his throwing posture in the Hi-5 drill. While he shouldn’t throw the ball, he should remain in the pitching position. Position the child’s foot in the direction of the batter and advise him to bend the front leg.
You must lie on the knee beside him. The pitcher must place his throwing hand against yours, making a hi-five motion with the ball in his hand, while you maintain your single hand as a wall. His pitching hand has to form the letter “L.”
The pitcher tries to finish the pitching motion through your hand, holding pressure against it.
He should give every push a one-second pause. You can work with the pitcher for another ten repetitions, then take a break.
Benefits
- Strengthens a pitcher’s hands
- Beneficial way to practice following through on a pitch
- Practicable at home
- Drilling of Mound Back
The mound back drill is a simple, easy-to-learn drill. It helps develop pitching efficiency and strength in baseball players in the seven-year-olds. However, this activity aims to teach students how to bend their legs when throwing safely.
This is not a drill you can do at home like the beginner pitching drills. As the name says, a baseball field mound posture is crucial for mastering the drill.
How Is the Mound Back Pitching Drill Carried out?
Instruct the pitcher to place themselves close to the mound. As a batter, you must act as a coach or partner if hitting is not required.
The player must throw the ball to you in a manner suitable to his pitching style. When throwing the ball, he has to pay attention to the front bent. He must prepare and pitch the ball while starting from his back body.
The front leg must be bent in the pitching movement’s end line. The head must remain straight in your direction as well. Return the ball to him after capturing it. He needs to toss like this ten or fifteen times more.
Benefits
- Assists in keeping appropriate leg bending during pitching
- Strengthens young baseball players’ pitches
- Boosts throwing accuracy to be a field player
- Pitching Eye Workout
If you have ever witnessed an infant pitching the ball without knowing where his head was aiming, his workout routine lacks eye drills.
Many untrained baseball managers and coaches sometimes underestimate the value of eye synchronization when pitching. They neglect drills that can help the pitcher’s vision.
The gamer must exercise more patience in this situation. Keeping good vision when throwing the ball is the purpose of this workout.
How Is the Eye Pitching Drill Carried out?
With a glove and ball, the player must choose a place on the baseball field. Get a position on the home plate, on your opposite hand.
As with a regular pitch, he must load up, complete the move, and toss the ball in your direction. When pitching, the pitcher needs to keep his or her velocity constant.
He should also maintain eye contact with your glove during the entire pitch.
Benefits
- Help with the pitcher’s eye and hand maintenance.
- Quite efficient at improving precision
- Pitchers may predict how hitters will move.
Baseball Hitting Drills
Small kids always enjoy batting a ball. You can cash in on this ability, and their base can be formed by the baseball drills listed here. It helps to monitor their development and how they complete each baseball drill.
- Drill with Split Hands
Split hands is one of the easiest drills. Kids’ hitting order is improved with this activity. Practicing this drill for better use of the upper hand is also useful. This work is miraculous for swing motion.
The good thing about this hitting drill is that the child can practice with the coach alone without needing a partner. You can assign it an exact interval or session to monitor it.
How Is the Split Hand-Hitting Drill Carried Out?
You will need a kid’s baseball bat, a tiny soccer goalpost, a batting tee, and a ball to do the split-hand drills. The player can alternatively be positioned in front of a wall instead of the soccer post.
The child should stand next to the tee. 5. to 6 feet should separate the soccer post from the striking base. The child must now take on the usual striking position. He should split his hand while keeping a short spacing of .5 inches.
This drill can be done in two different ways: by striking the ball or the tee. The player’s first goal is to strike the batting tee’s halfway point. It will strengthen their upper hand.
They should try hitting the ball rather than the tee after that. Every player gets ten hits on the ball. The winner is the one who makes the most accurate hits.
Benefits
- Builds up the player’s wrist, elbow, and hand
- Improve the player’s hitting accuracy
- Aids in learning to the steady swinging move
- Strings Workouts
Kids either use their front leg to strive or, occasionally, their back leg to slow down and often drop their leg balance. The string striking drill aims to help players develop proper leg activity, postures, steps, and balance.
How Is the String Hitting Drill Carried Out?
String drills follow a simple set of rules. The hitter should remain in the hitting position. Measure his relaxed step. Tie a cord or rope around his ankles.
The tiny nerd should stop moving when you instruct him to stop once the swing is finished. After a two-second break, ask him to resume his usual batting position in the batter’s zone. All he has to do is perform the posture eight or ten times.
Benefits
- Aids to control the swings
- Does not require help from a partner or coach
- Practiced anywhere, even at home
- Bottle-Cap Drilling
A usual problem for young batters is poor hand-eye coordination. Thus, building a kid batter’s coordination is crucial. This focuses on improving their hand action and hitting skills in a very logical manner.
The primary objective is to allow the player to practice hitting with little items, like bottle caps, tennis balls, golf balls, etc., instead of the typical baseball.
The player must take the batting position on home plate before beginning the bottle-cap hitting routine. With a few bottle tops, you should stand five to seven feet away from the batter.
Now ask the player to hit by tossing the caps one at a time in his direction. He earns a score each time he strikes the cap. He receives a lower score for missed shots. He must receive a score of five or ten if you prefer.
Benefits
- Helps to improve hand-eye coordination
- An excellent drill to boost hitting accuracy
Fielding Drills
Drill with Two Balls
Outfield players must be engaged with each step of the game. Balls might get in the way at any time.
How Is the Two Balls Fielding Drill Performed?
The kid should be 30 feet away from you while wearing the glove. To start, toss him a few fly or ground balls. It must be fielded by him and returned to you.
Throw the ground ball the next time, and the player must stick to the same rules. As a result, you can try line swings at that point. Sometimes you can throw the ball left and right to spice up the challenge.
Benefits
- Excellent drill for boosting the speed of your footwork
- Serves as a drill for training
Conclusion
To sum up, keeping things simple when planning and carrying out your drills is essential. All of those baseball drills for 7 year old are very important. How successfully your players progress and what kind of fun they have will ultimately depend on the knowledge, expertise, and passion you bring to the coach position. Creating a joyful environment and accepting errors while learning lessons from them will greatly help. Remind yourself not to overcoach and to let them learn and develop at a level that won’t discourage them from enjoying the game permanently!